
Lemosho trailhead to Mti Mkubwa
Transfer from Moshi to western Kilimanjaro, complete registration at Londorossi and continue to the trailhead as access permits. Walk through mountain rainforest to Mti Mkubwa Camp for your first night in tents.
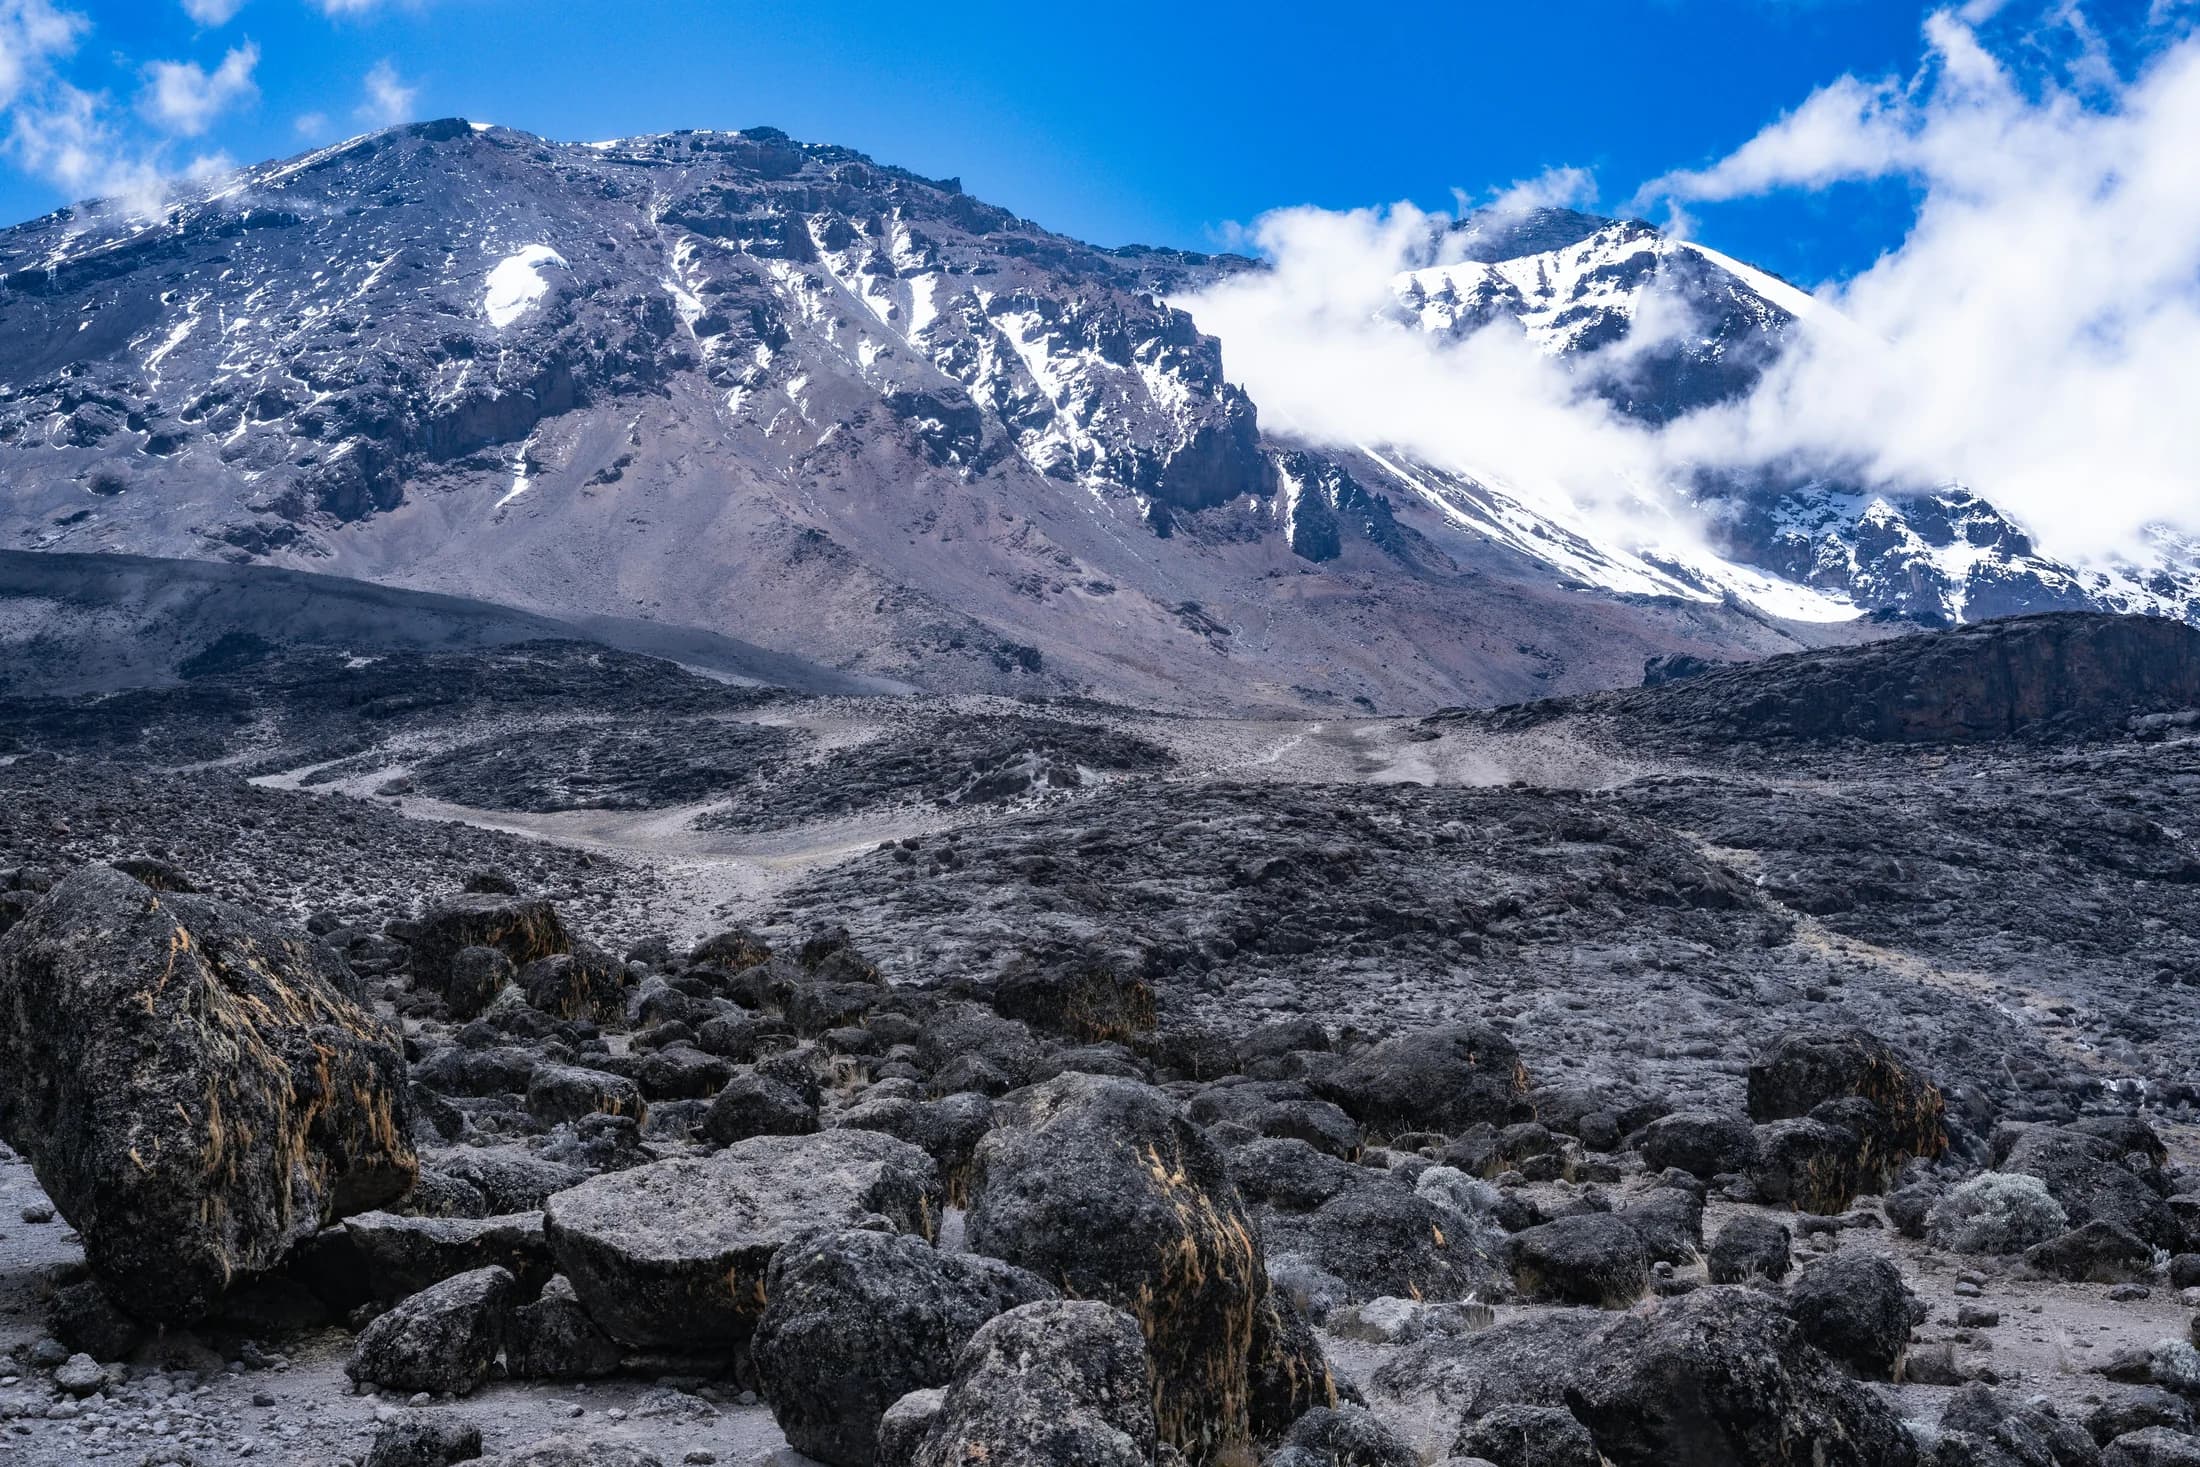
Treks · Sample itinerary
Approach Kilimanjaro from the west, cross the Shira Plateau and follow the southern circuit, with eight mountain days and a descent via Mweka.
A starting point for your custom trip
Kilimanjaro is a demanding high-altitude trek. Fitness does not prevent altitude illness, and no route guarantees a summit. Discuss preparation with a qualified clinician, report symptoms promptly and follow your guide’s decisions about continuing or descending.
Day by day
Transfer from Moshi to western Kilimanjaro, complete registration at Londorossi and continue to the trailhead as access permits. Walk through mountain rainforest to Mti Mkubwa Camp for your first night in tents.
Leave the forest for heath and moorland, gaining altitude toward the Shira Ridge. Continue to Shira 1 Camp on the plateau, keeping a steady pace and allowing time to settle into camp.
Continue across the open Shira Plateau to Shira 2 Camp. Experience the changing volcanic landscape, with any additional walking adjusted to conditions and your wellbeing.
Ascend toward Lava Tower before descending into the Barranco Valley. This higher daytime excursion followed by a lower overnight camp is part of the route’s acclimatization plan, not a guarantee against altitude illness.
Climb the steep Barranco Wall with guidance, then cross undulating terrain toward Karanga Valley. Stay at Karanga Camp rather than continuing directly to Barafu, leaving time to rest and prepare.
Follow the trail into exposed alpine terrain toward Barafu. Your team will review the summit plan, equipment and your condition before an early meal and rest.
A very early start leads toward Stella Point on the crater rim. Continue toward Uhuru Peak at 5,895 metres only if your health, guide assessment and conditions allow. Descend via Barafu for a rest before continuing to Mweka Camp. The ascent and descent together make this a long, demanding day; turnaround decisions take priority over the summit.
Descend through rainforest to Mweka Gate, complete park exit formalities and meet your transfer to Moshi. Keep recovery time in your plans before an onward journey or international flight.
Your final proposal will confirm the exact route, accommodation, inclusions, and terms before you book.
Request a quote for your dates and group. Confirm hotel nights, room and tent arrangements, personal equipment, insurance and evacuation cover before booking. Rescue fees do not replace insurance. The supplied tipping guide is shared by the group: US$20 per guide per day, US$15 per cook per day and US$10 per porter per day; ask for the expected crew size. Mountain photographs are illustrative, not a record of this exact departure.
Keep exploring
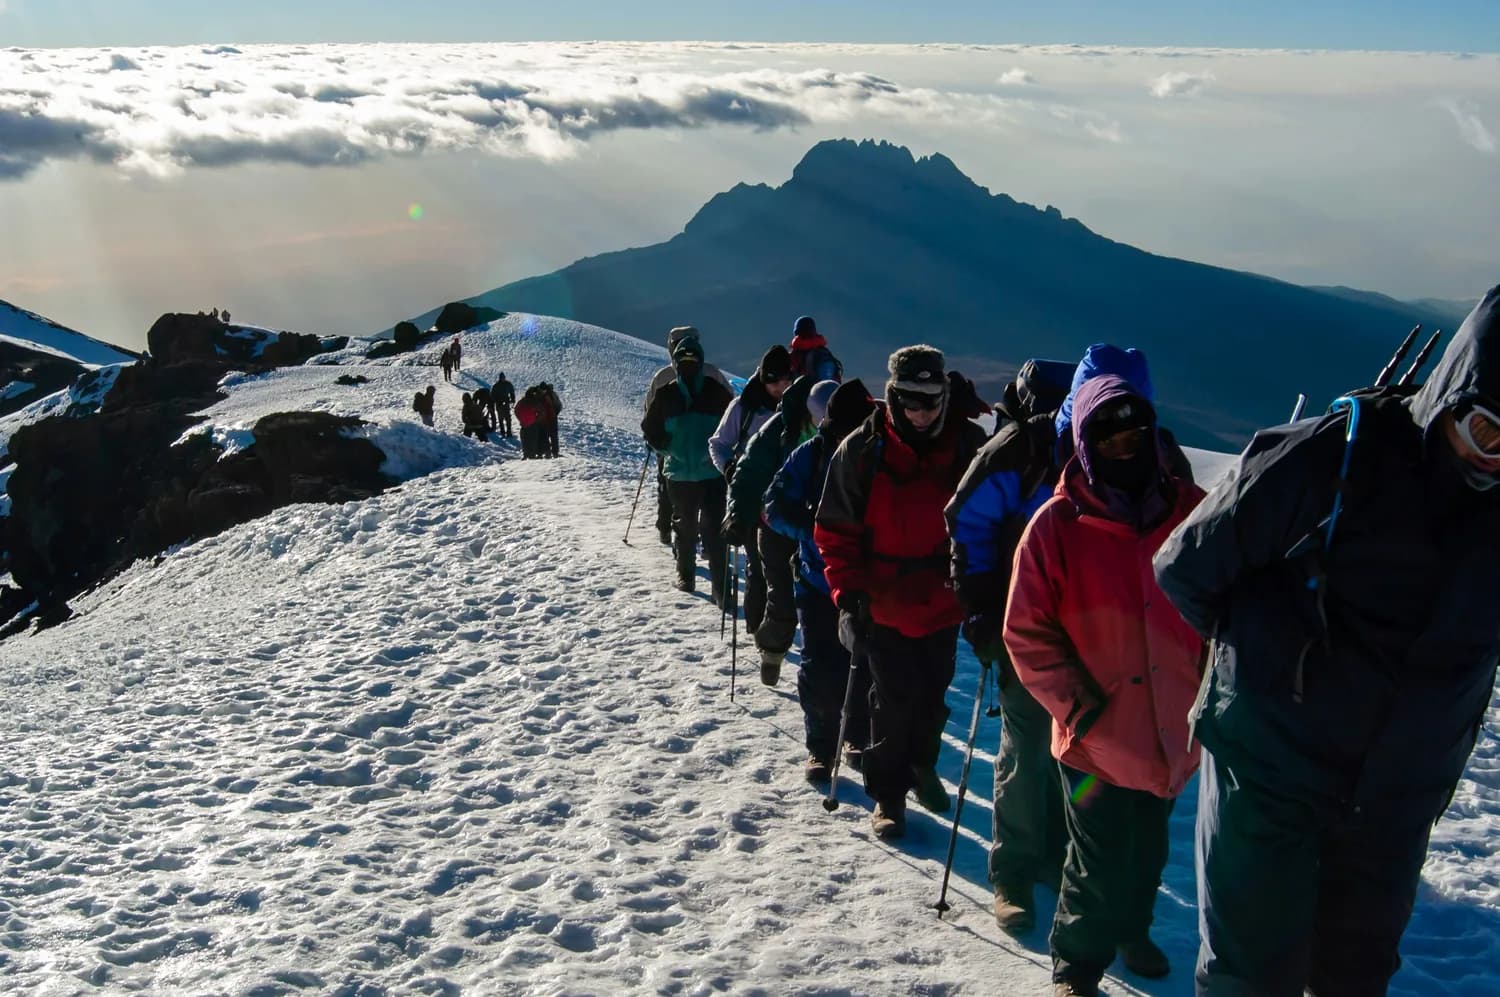 Treks
Marangu route · Kilimanjaro
A six-day Marangu example with hut stays, an acclimatization day at Horombo and a complete descent to the gate.
TreksMachame · Shira · Barafu · Mweka
Follow Kilimanjaro’s Machame, or Whisky, route through rainforest and high volcanic terrain, with an overnight at Karanga before Barafu.